
想修改一下pycharm的启动背景,按照网上的办法直接修改pycharm.jar
pycharm的启动图片放在
pycharm安装目录\lib文件夹下的pycharm.jar文件中
直接右键用压缩软件打开.jar文件,里面的pycharm_logo.png和pycharm_logo@2x.png两个图片文件就是启动图,分辨率分别是640×400和1280×800,将你制作的启动图(尽量不要改变分辨率)拖进压缩包替换他们即可.
黑客程序媛 / 逆向工程师 / 人工智能学徒 / 用爱发电的独立开发者
想修改一下pycharm的启动背景,按照网上的办法直接修改pycharm.jar
pycharm的启动图片放在
pycharm安装目录\lib文件夹下的pycharm.jar文件中
直接右键用压缩软件打开.jar文件,里面的pycharm_logo.png和pycharm_logo@2x.png两个图片文件就是启动图,分辨率分别是640×400和1280×800,将你制作的启动图(尽量不要改变分辨率)拖进压缩包替换他们即可.
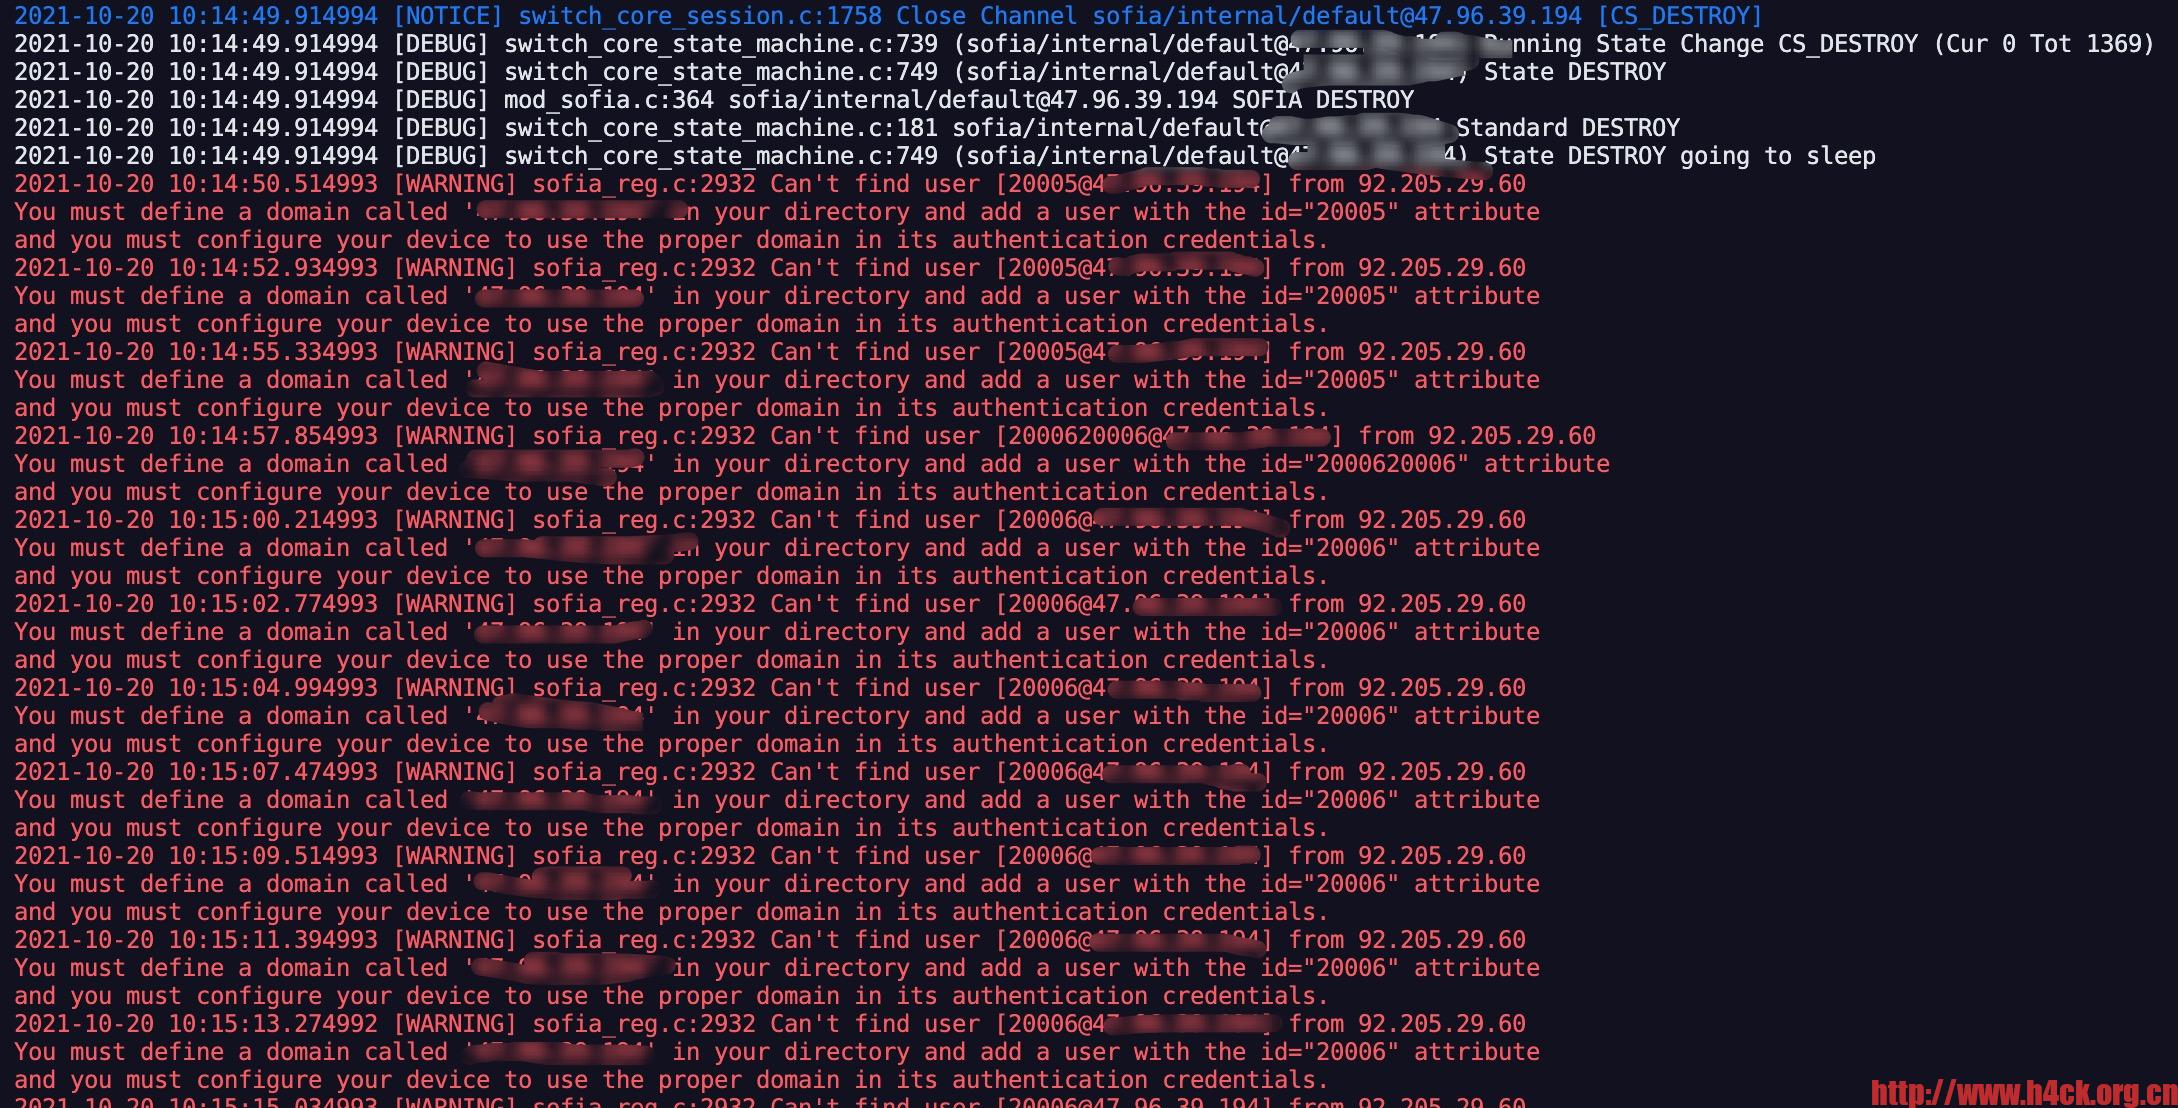
SIP攻击很常见,特别是各大云服务器,基本上开了个公网IP绑定到实例机器就会被外国IP一遍怼。防范也容易,就是把外国IP禁掉。
实现:iptables+ipset,只允许中国IP访问本机,也就实现了封禁国外IP的效果。
优点:匹配迅速,免去iptables单链匹配。
操作步骤:
1.安装ipset 以及iptabls
#安装ipset:
RedHat:yum install ipset
Debian:apt-get install ipset
#建表
ipset create china hash:net hashsize 10000 maxelem 1000000
#批量增加中国IP到ipset的china表
#以下内容保存成脚本执行即可
#!/bin/bash
rm -f cn.zone
wget http://www.ipdeny.com/ipblocks/data/countries/cn.zone
for i in `cat cn.zone`
do
    ipset add china $i
done

为了能够正常访问google进行搜索,之前一直用的ssh转socks代理。后来觉得如果s2主机只用来做代理,有点浪费了。于是就想了干脆反向代理一个google搜索。网上相关的文章比较多,随便搜索一下就可以找到相关的代码。基于nginx的主要配置代码如下:
proxy_cache_path /tmp/accounts levels=1:2 keys_zone=cache:10m max_size=10g inactive=60m use_temp_path=off;
server {
        server_name h4ck.ws;
        location / {
      proxy_redirect off;
      proxy_cache cache;
      proxy_cache_valid   200 304 12h;
      proxy_cache_valid   any 10m;
      proxy_cookie_domain google.com h4ck.ws;
      proxy_pass https://www.google.com;
      proxy_connect_timeout 20s;
      proxy_read_timeout 600s;
      proxy_send_timeout 600s;

      proxy_set_header Host "www.google.com";
      proxy_set_header User-Agent $http_user_agent;
      proxy_set_header Referer https://www.google.com;
      proxy_set_header Accept-Encoding "";
      proxy_set_header X-Real-IP $remote_addr;
      proxy_set_header X-Forwarded-For $proxy_add_x_forwarded_for;
      proxy_set_header X-Forwarded-Proto https;
      proxy_set_header Accept-Language "zh-CN";
#     proxy_set_header Cookie "PREF=ID=047808f19f6de346:U=0f62f33dd8549d11:FF=2:LD=zh-CN:NW=1:TM=1325338577:LM=1332142444:GM=1:SG=2:S=rE0SyJh2W1IQ-Maw"; #这行代码可能会导致google监测到流量异常
      sub_filter https://www.google.com https://h4ck.ws;
      sub_filter https://www.google.co.jp https://h4ck.ws;
      sub_filter_once off;
      addition_types *;
  }
}

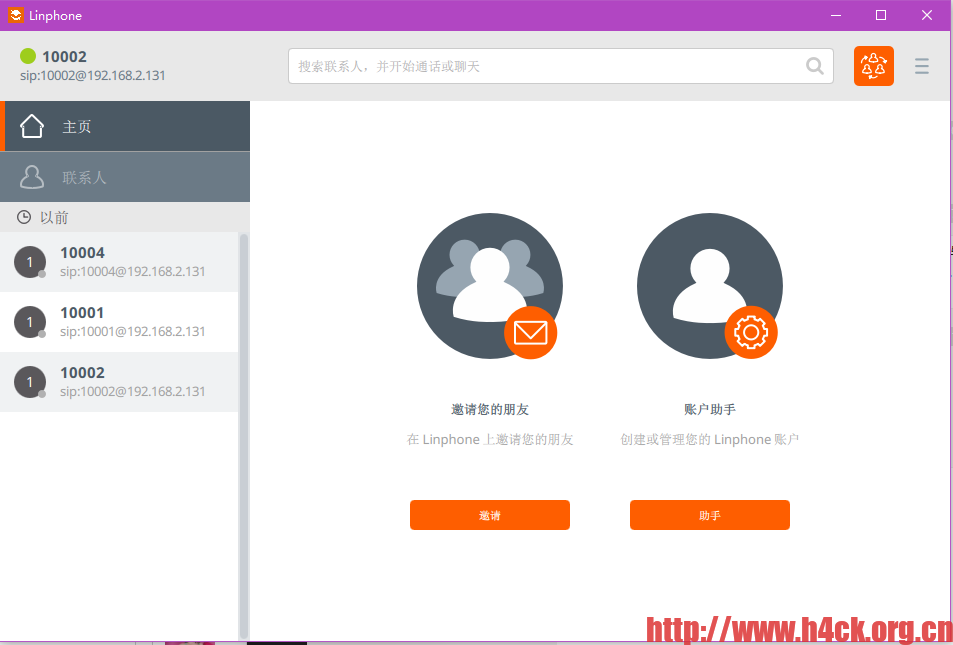
书接上文,上次在阿里云安装好opensips之后,发现无法在公网ip监听。为了能够快速测试后续改用内网服务器搭建sips服务器。现在功能差不多了,于是就需要将opensips服务器重新部署到公网上。不得不再次面对这个蛋疼的问题。通过搜索之后发现可以通过rtpproxy实现内网穿透?(这个说不知道准不准去,没有深入研究实现原理)
方法也比较简单,安装rtpproxy:
sudo apt-get install rtpproxy
安装之后修改opensips.cfg配置文件,添加如下内容:
#rtpproxy
loadmodule "rtpproxy.so"
modparam("rtpproxy", "rtpproxy_sock", "unix:/var/run/rtpproxy/rtpproxy.sock") #需要将unix路径修改为rtpproxy对应的sock路径。
OpenSIPS is an Open Source SIP proxy/server for voice, video, IM, presence and any other SIP extensions.OpenSIPS is a multi-functional, multi-purpose signaling SIP server used by carriers, telecoms or ITSPs for solutions like Class4/5 Residential Platforms, Trunking / Wholesale, Enterprise / Virtual PBX Solutions, Session Border Controllers, Application Servers, Front-End Load Balancers, IMS Platforms, Call Centers, and many others – see the full Set of Features.
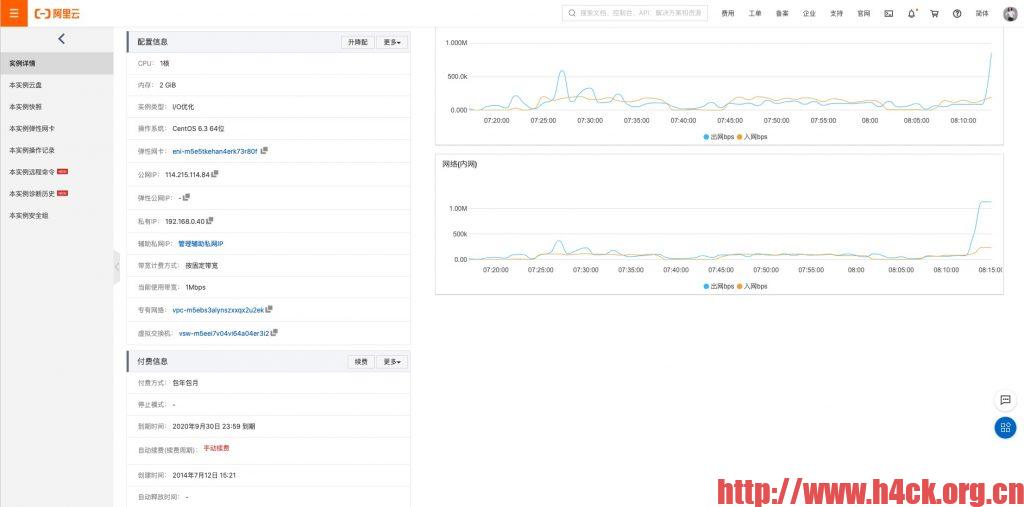
搜索一下网上安装opensips的文章基本都是源码安装的,虽然从源码安装并不是十分困难,但是在安装过程中需要处理各种依赖库。并且在某些系统上会出现编译不过的问题,在阿里云的服务器上很容易就通过源码安装好了opensips。但是由于阿里云的ecs没有经典网络,所以无法在公网ip绑定服务,导致客户端无法正常连接。如果有在阿里云部署服务的,那么可能会在这个地方失败。
在内网尝试部署的时候出现了另外一个问题,那就是源码编译不过去。搜索了一下发现其实可以通过ubuntu的apt命令进行安装,不过官方的apt源限定了linux的发行版本。所以在安装之前最好先确认一下,建议使用ubuntu18.04.
从14年开始使用这台vps服务器,最近发现jetpack出了问题。貌似是更新php版本之后,新的php-xml模块没有安装,尝试更新相关模块的时候首先要更新epel-release,问题是更新了epel-release之后yum命令就挂了,提示找不到xz!

于是问题就演化成了先有鸡还是先有蛋的问题,如果要解决这个问题那么:
wget https://sourceforge.net/projects/lzmautils/files/latest/download?source=typ_redirect
mv download\?source\=typ_redirect xz.gz tar -zxvf xz.gz
make &make install